🤯3 Fingers That Don’t Play—But Control Everything in Shinobue Flute 🪈
When we think about playing the shinobue, our focus naturally goes to the fingers that cover the holes and create the notes.
But what if I told you that three fingers—your thumbs and right pinky—don’t play a single note, yet they hold the key to unlocking your shinobue dream?
Whether you’re struggling with airy tone, slow yubiuchi, or not hitting ryo on 1 and kan on 1, understanding the role of these silent supporters can transform your playing. Let’s take a closer look.
What they do for shinobue
Your thumbs and right pinky support the shinobue so that it is not wobbly. When your shinobue is unstable, you cannot seal the holes properly to create a clean tone. You can even drop your shinobue in the middle of a song! 😮
It's important to remember that fingers can be the cause of your airy tone, not just your embouchure or breath.
The position of your thumbs
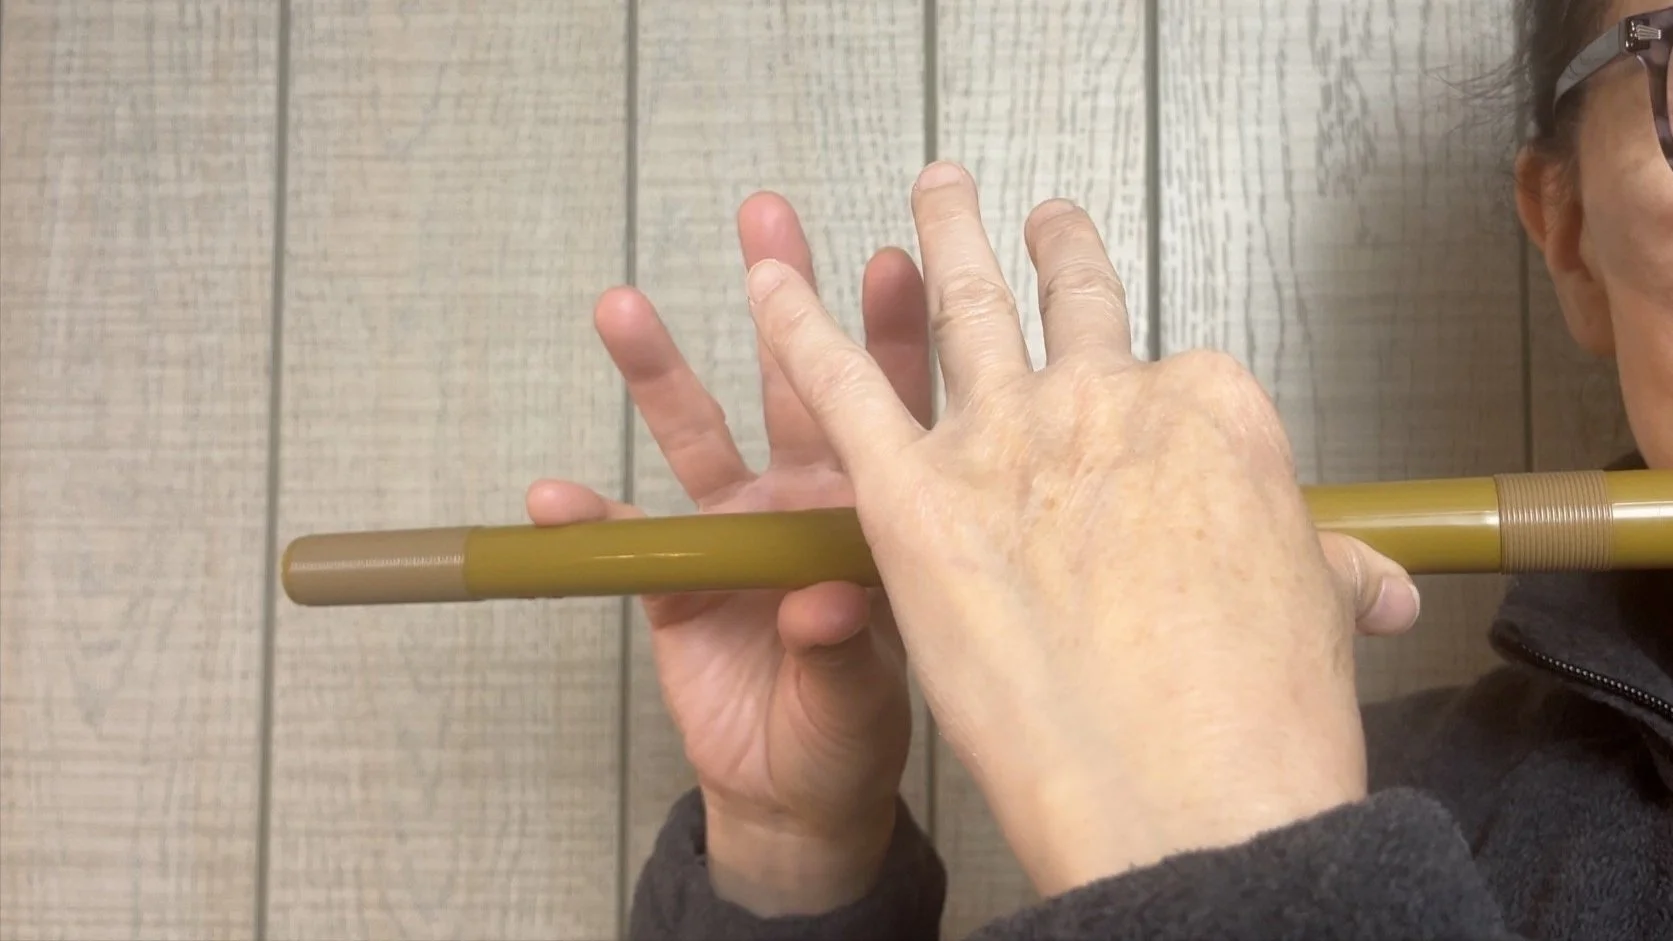
This varies depending on the size your hands and fingers, but everyone can find the spot on your thumbs where you feel the shinobue snug against them when you put your shinobue to your mouth.
To find your good positions for your thumb:
Hold your shinobue as if you are playing (ryo on or kan on ) 7.

Your shinobue on your mouth, 2 thumbs holding the shinobue and right pinky down.
2. Find the spot on your thumbs that feels stable. Do not simply rest the shinobue on your thumbs. The thumbs need to feel snug against the shinobue.
3. Shake your head lightly. Your shinobue should not feel wobbly.
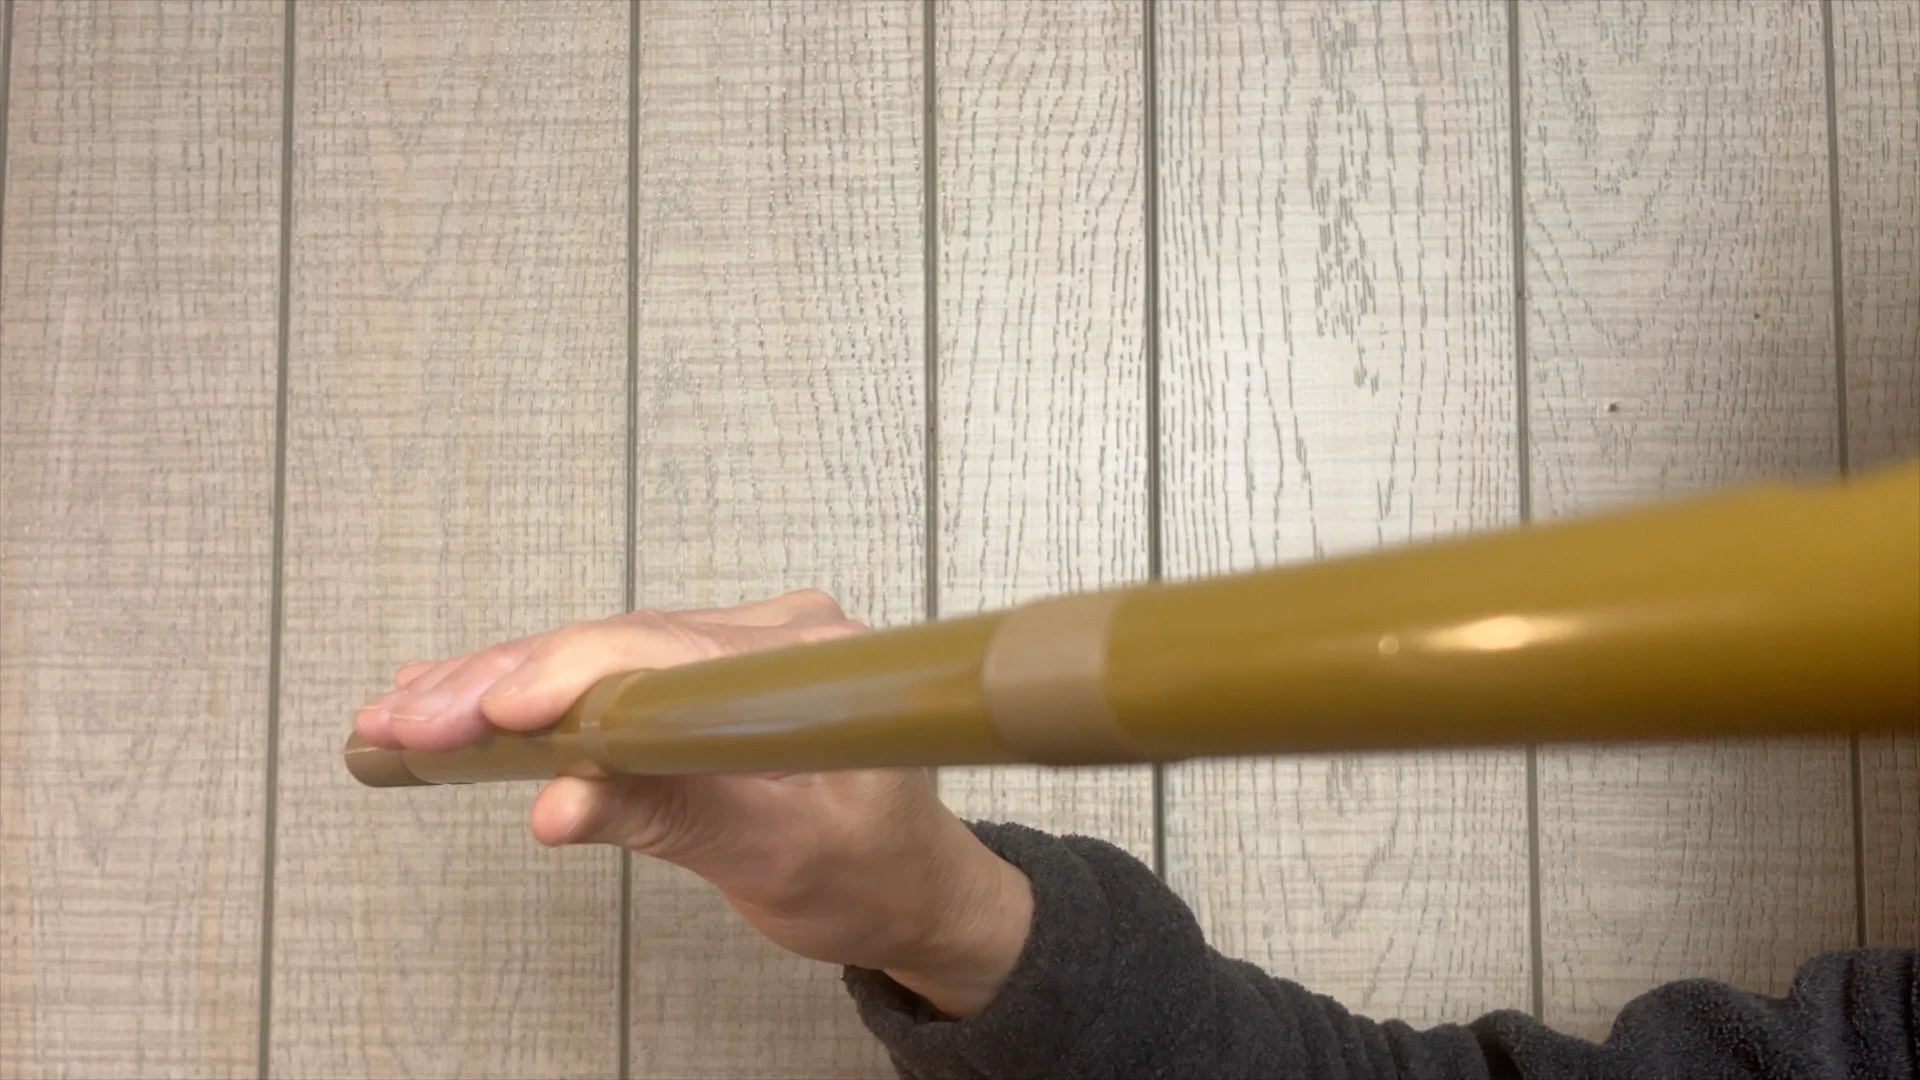
As a reference, this is how my thumbs fit the shinobue.
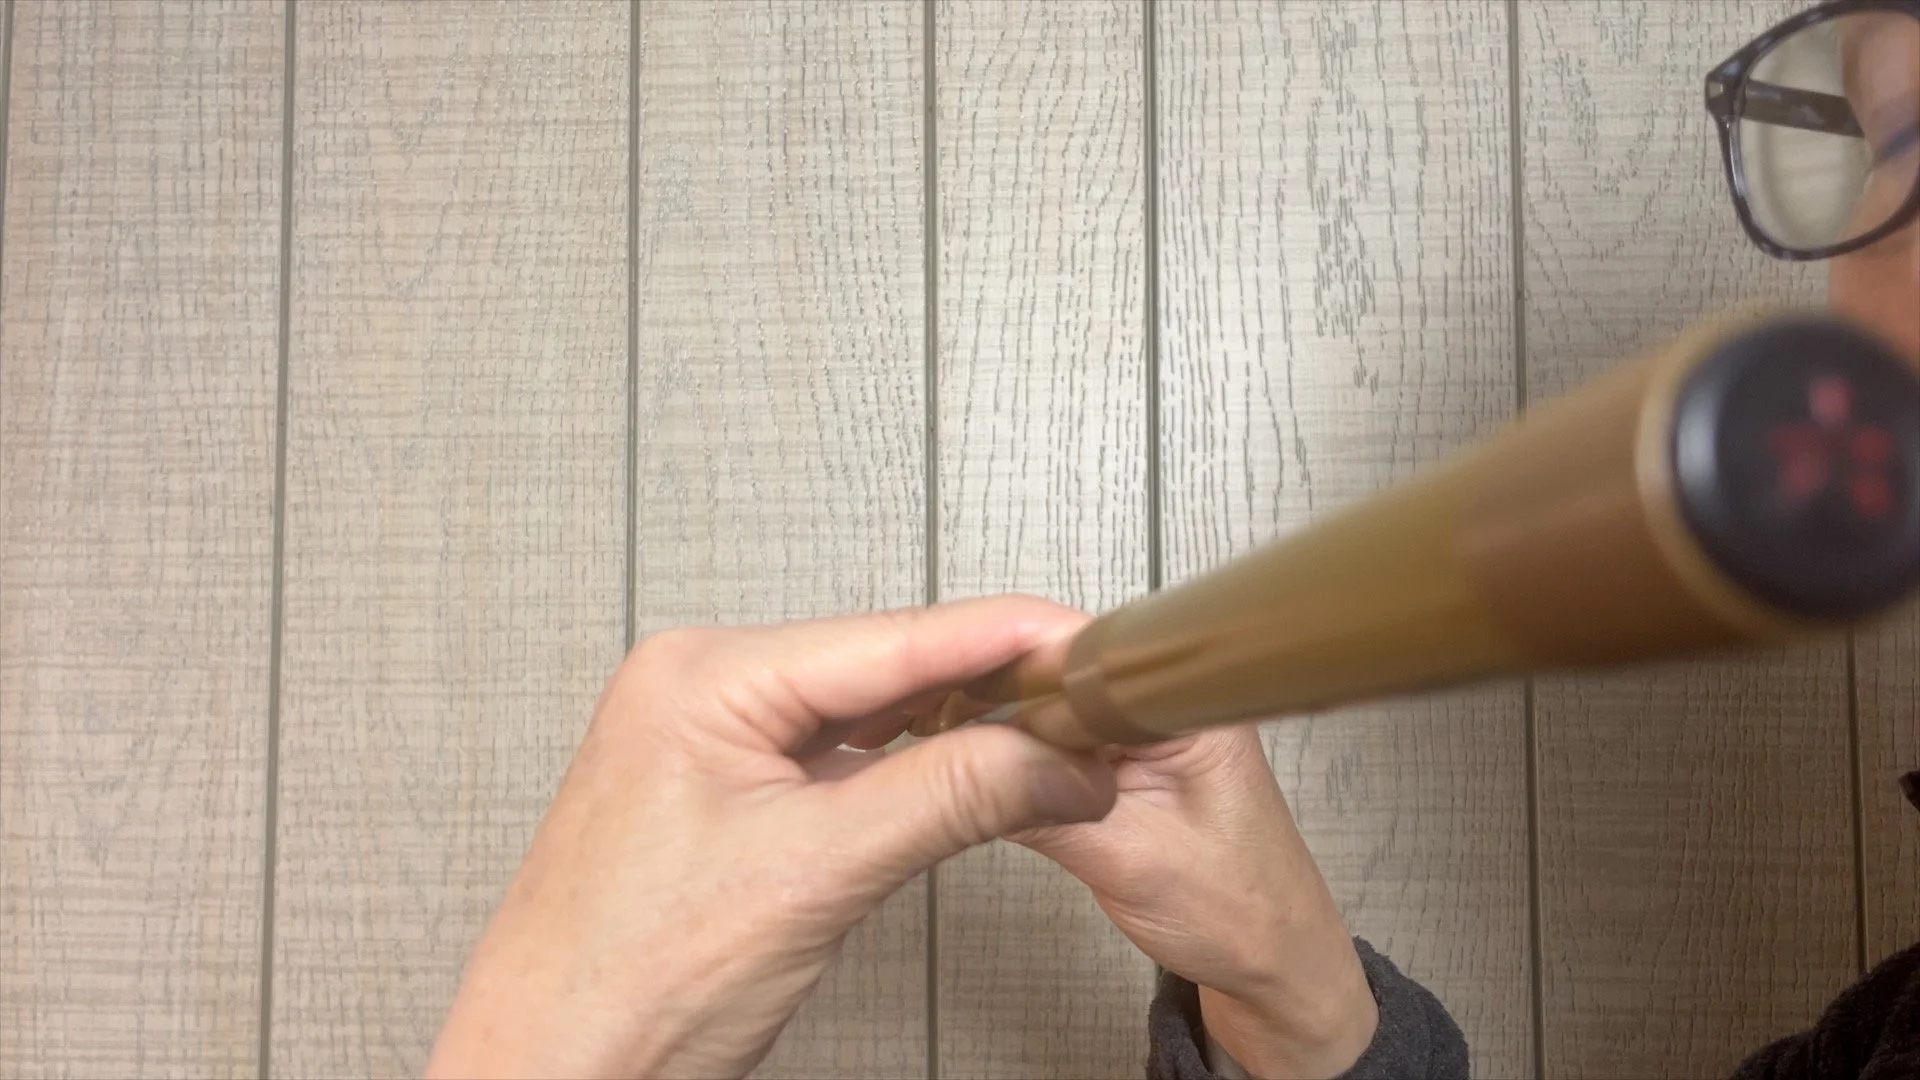
Right Pinky Position
Most people place their right pinky on the last hole of the shinobue when it's down. However, as the shinobue gets larger (with decreasing hon choshi numbers), your pinky may not be able to reach the last hole comfortably.
In such cases, you can place your pinky between the last hole and the second-to-last hole in a position that feels stable, as this positioning does not affect your pitch.
For example, when I play my 3, 2, or 1 hon choshi, I don't place my pinky on the last hole because I can't reach it.
I have a female student whose pinky doesn't comfortably reach the last hole even when she plays her 8 hon choshi. If she tries to do so, she has to shift her entire hand to the right, which forces her to move back and forth to play the notes. This creates a lot of instability.
Maintaining a stable hand position is crucial for consistently finding the holes and playing the shinobue successfully.
Regardless of where you choose to place your pinky, the most important factor is that it helps to stabilize your shinobue. Find the right position for each of the shinobues you use and stick to it.
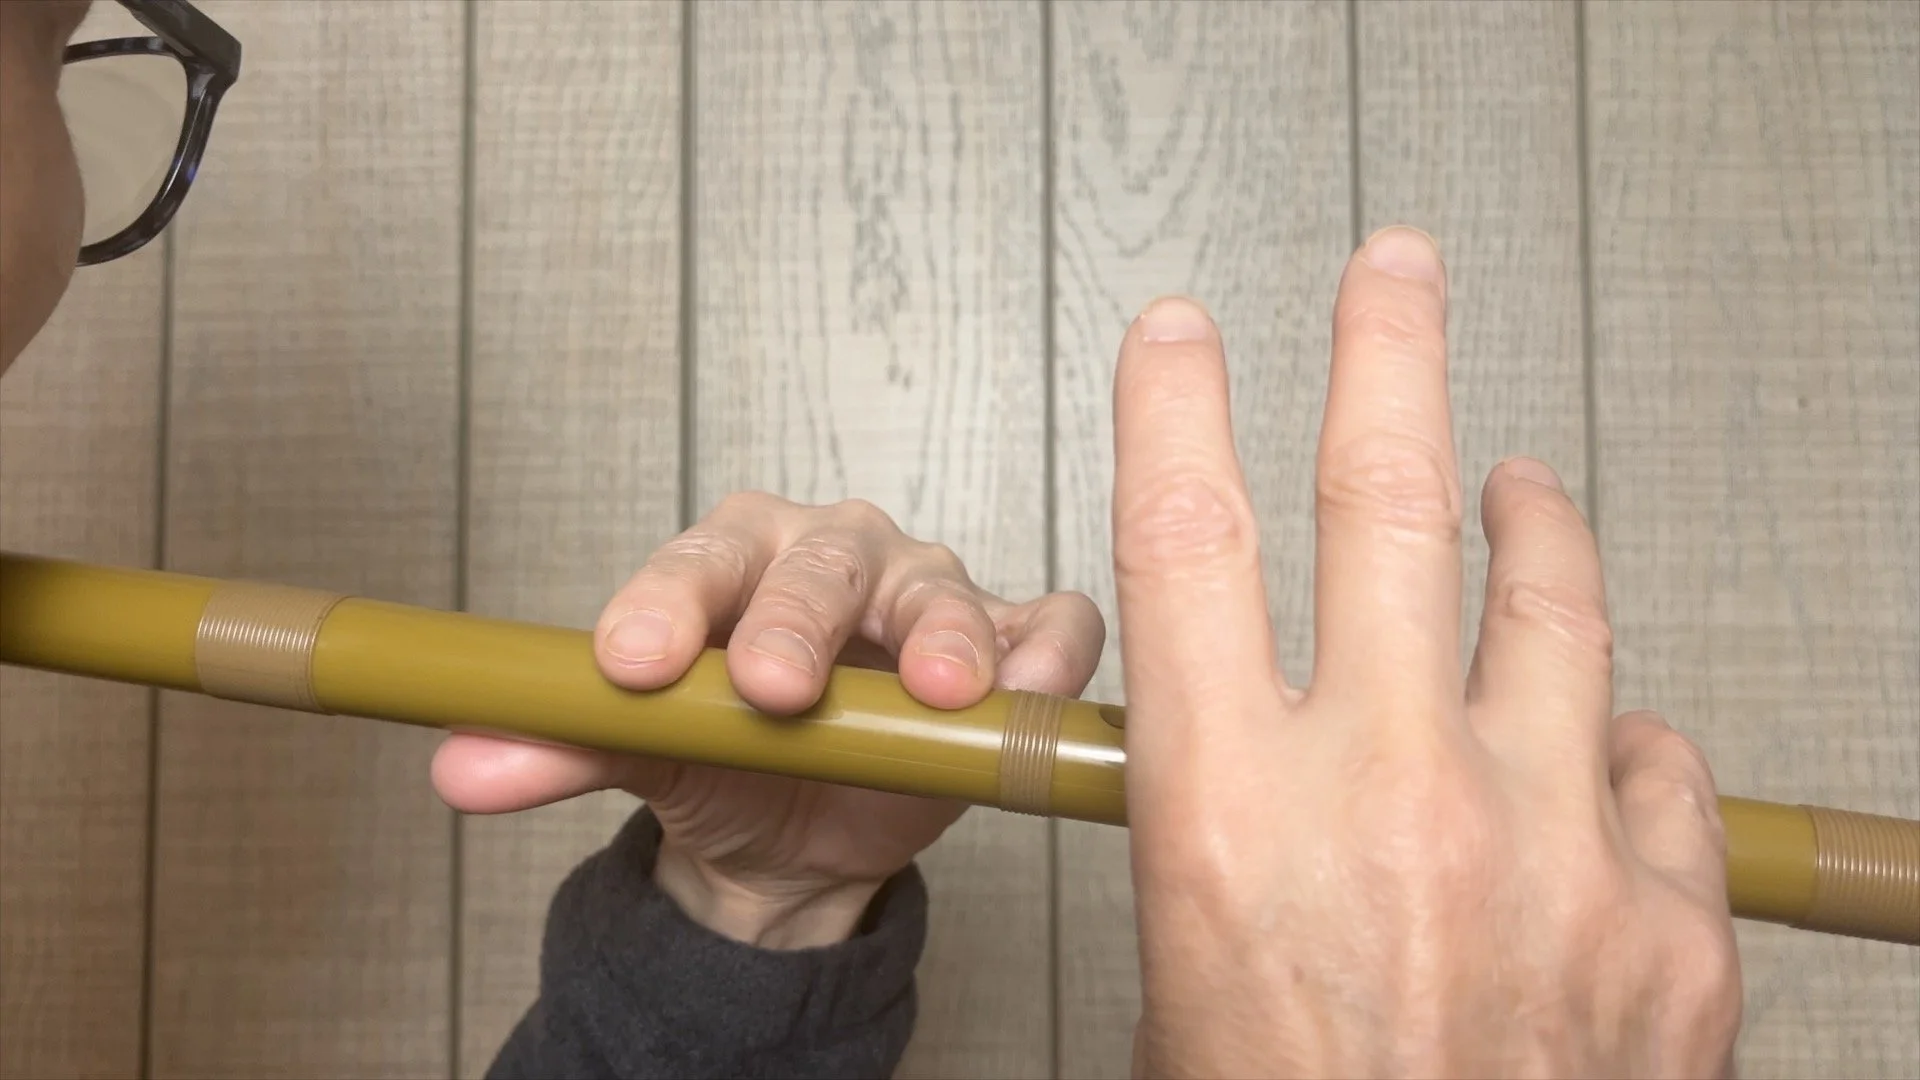
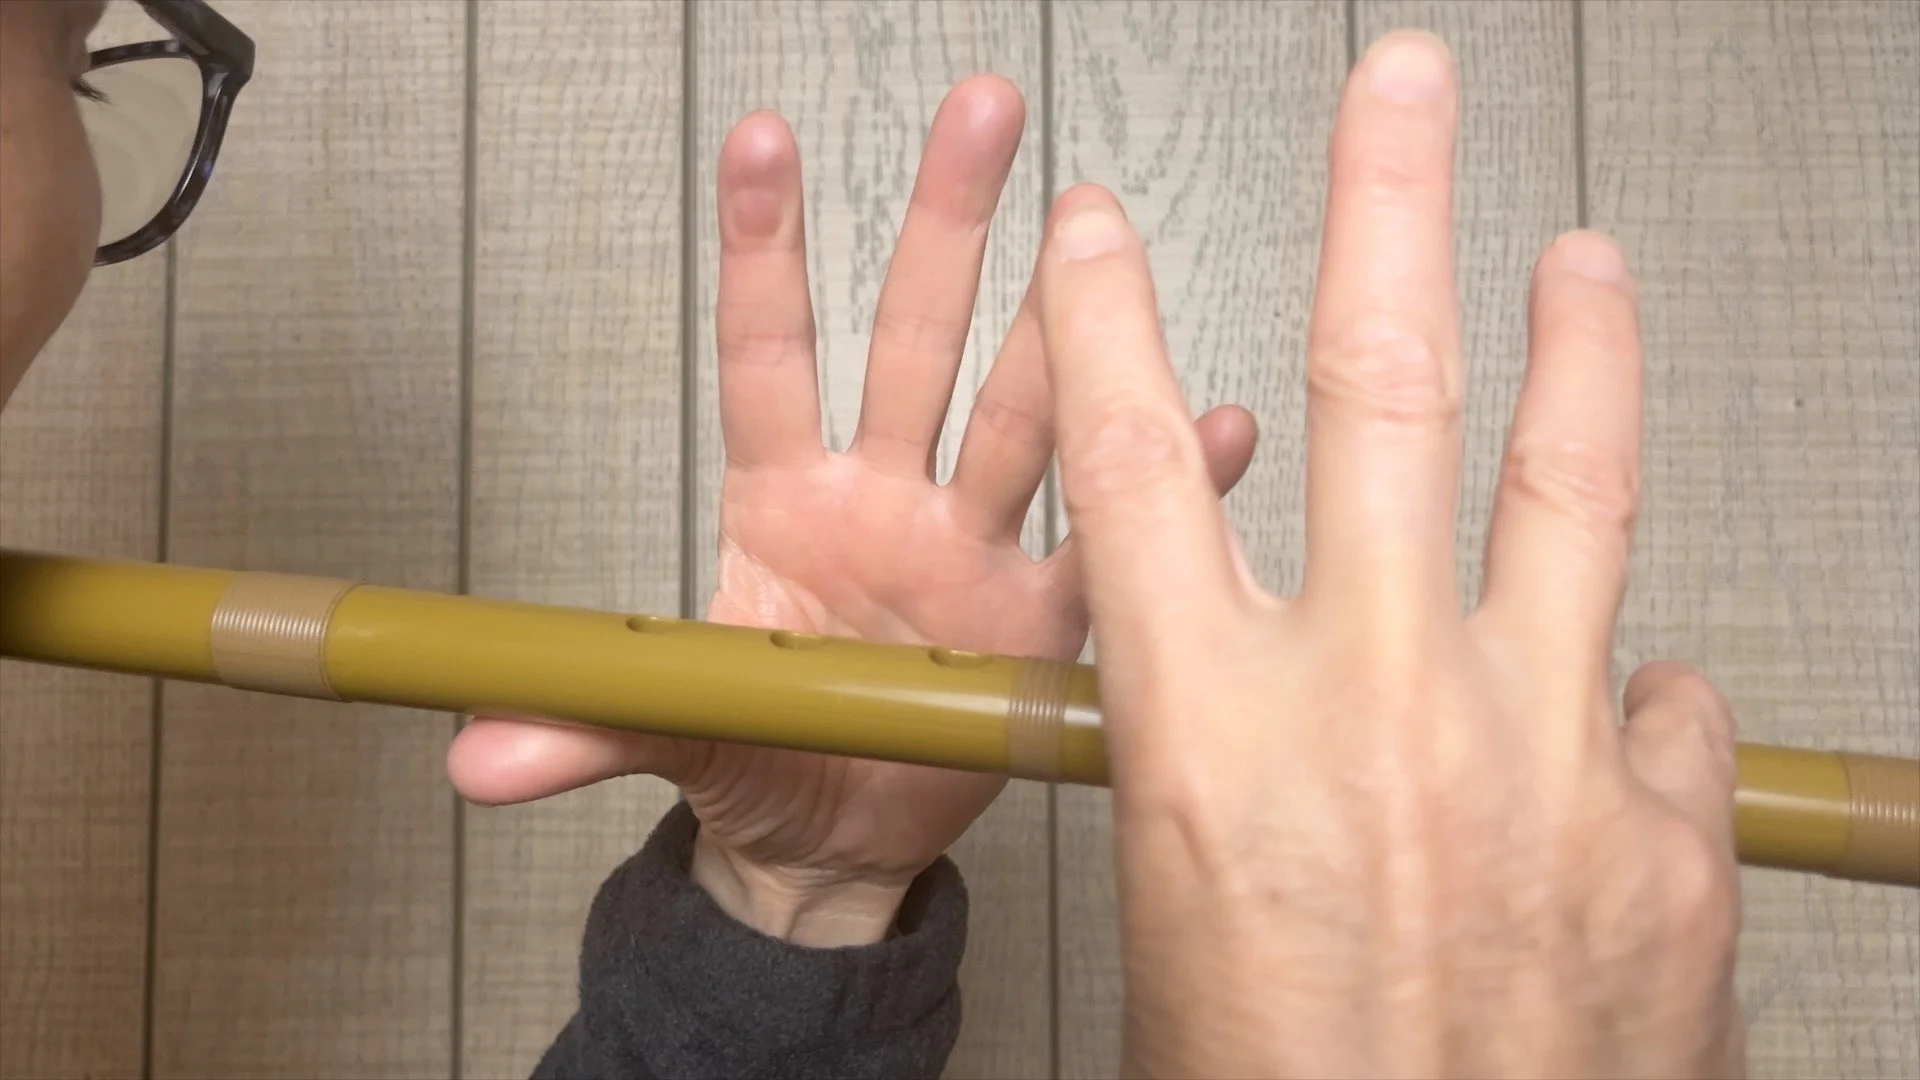
Your right pinky finger is down only when you are playing the notes 4, 5, 6, or 7.
When playing the notes 1, 2, or 3, your right-hand finger(s) are already positioned down, so there’s no need to press your right pinky to stabilize the shinobue.
Switching your pinky finger according to the notes being played is one of the reasons why transitioning from ryo on notes 4, 5, 6, and 7 to kan on notes 1 and 2 can be challenging.
For example, when you play ryo on 6, your pinky is down while most of the other fingers are lifted. To play kan on 1 from there, you need to simultaneously lift your pinky and lower most of the other fingers, which can be difficult for many players.
To improve this, practice these finger patterns repeatedly. Focus on being consistent and smooth when raising and lowering your right pinky finger based on the notes you play.
I often notice that people develop creative and unconventional ways to stabilize the shinobue in these situations.
To clarify, here are photos showing the finger positions for each note.

Playing note 1 - Right pinky up
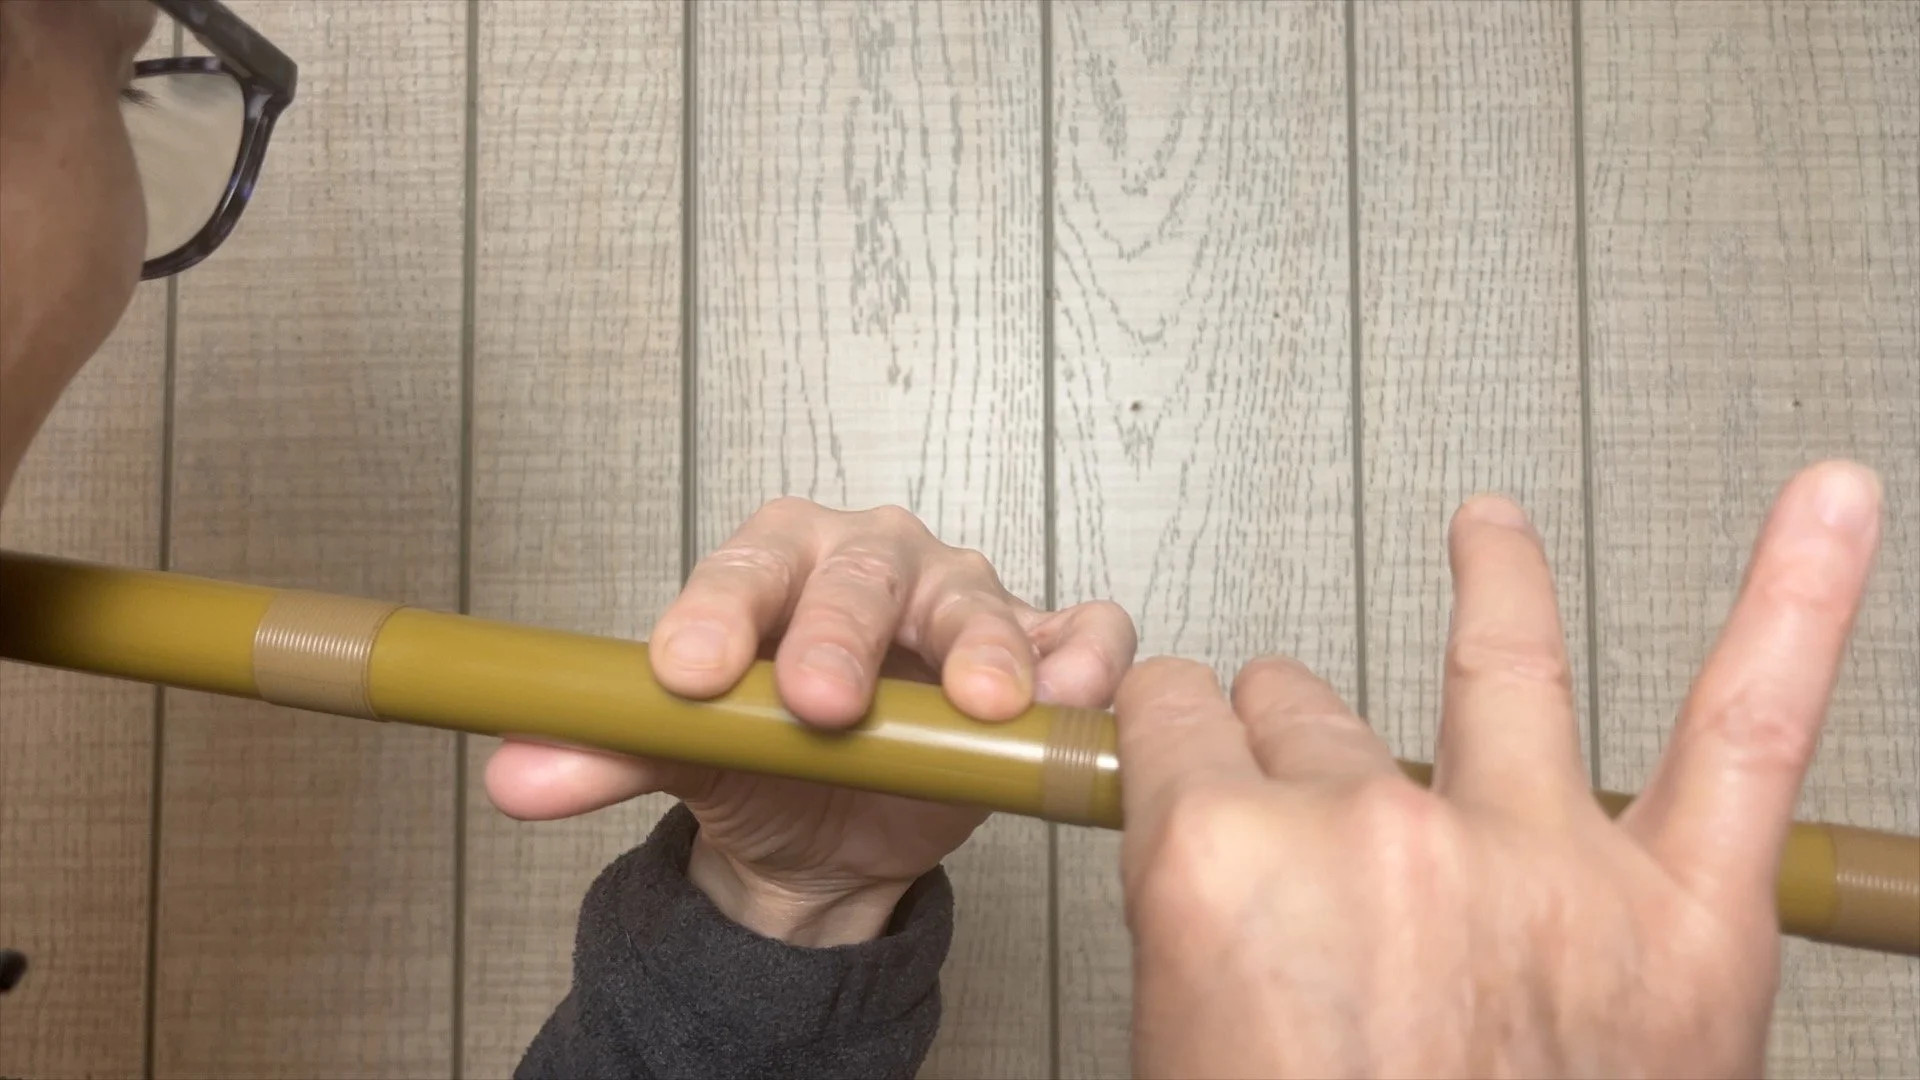
Note 2 - Right pinky up

Note 3 - Right pinky up
Note 4 - Right pinky down

Note 5 - Right pinky down

Note 6 - Right pinky down
Note 7 - Right pinky down
Don’t underestimate your thumbs and pinky—they’re the silent foundation of every great shinobue performance!